DIY, Occasion, Ramadan, Ramadan Calendar
DIY RAMADAN CALENDAR | RAMADAN VILLAGE
May
Salam and a heartfelt hello to my dear ones,
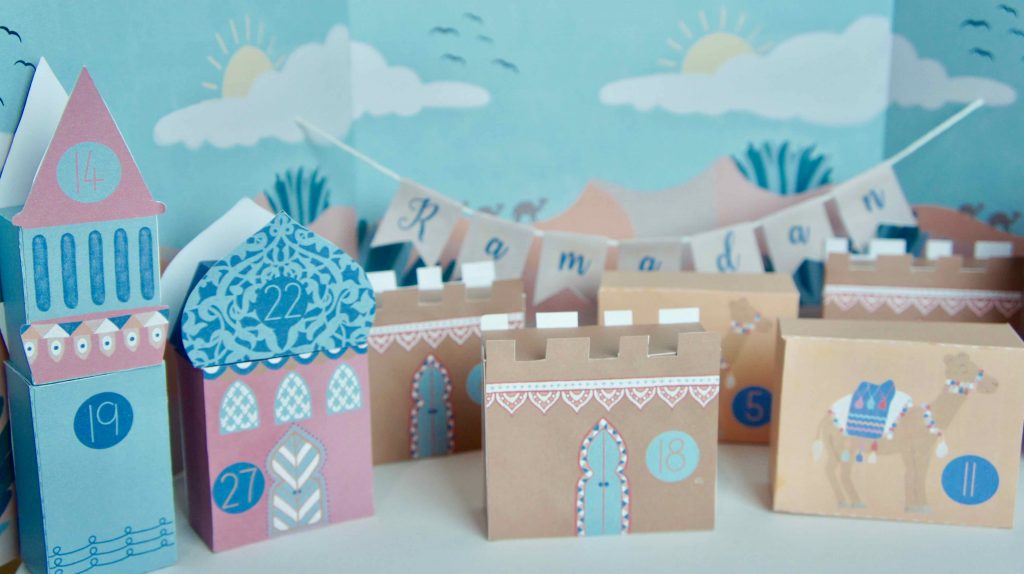
For this year’s Ramadan preparations, we start in spring-like temperatures and, of course, we want to make a DIY Ramadan calendar. As the first inspiration and first craft kit for this year, I brought you the Ramadan calendar called “Ramadan village”. 30 boxes in 6 different motifs, I illustrated and colored them myself. Have fun crafting!

CRAFTING THIS RAMADAN CALENDAR
YOU NEED:
- dattelbeere craft kit “Ramadan village”
- Scissors
- Ruler
- Craft glue
- String/wool

PRINT OUT CRAFT KIT
Let’s make a Ramada calendar. The first thing you will need in order to begin crafting is the matching craft kit for this blog post. Either you download it as a file and print out all the elements at home or you use my new specialized printing service. In case you don’t have a high-quality printer or high-quality paper at home, you can always just check out my shop and have the craft kit directly sent to you. Or even if you would just like to start on it without any major organizational effort.
CUTTING OUT BOXES
At the beginning, you cut out all 30 boxes along the outer lines. In some spots it can become very filigree, which is why I recommend you to use a fine craft scissors or a pair of nail scissors.

BEND & FOLD
Now you have to bend the adhesive surfaces along the dotted marking and fold the shell surface into a box. To make it easier to bend, you need to turn the shell surface and strengthen the bent edges with the help of a ruler and scissors. Place the ruler directly on the bent edge and swipe the scissors along it with light pressure.


USING GLUE
If you have bent all surfaces, you now cover the adhesive edges with craft glue. You can either proceed side by side or spread craft glue on all of them at once. Just make sure that the glue does not smear when you squeeze the sides. Of course, you should not close the box completely until you have filled it up well enough. Some boxes have a separate lid. Of course, you only fix it and put it in place after filling up the Ramadan calendar.


BACKGROUND
In order to set up the background, you need the image in triple version. If you ordered the Ramadan calendar “Ramadan village” in the print service, the three pages will be automatically included in the delivery. If you have chosen the file to print by itself, you must be sure to start the print job three times for this page. To do this, cut out the image along the lines. Leave a little glue to the left and right to connect the three sides with each other. Now you can use it as a background that can stand on its own.

GARLAND
To do this, cut out the elements along the lines and bend them in the middle. Again, you can use rulers and scissors to make it easier.

Now spread craft glue on the inside and place the thread in the middle. Push the sides on top of each other and there you go, your garland is finished.


Finally, you attach the garland in the middle section of your background. For this, you poke two small holes with the scissors, thread the left part of the string first and then the right end of the string afterwards. Then tie a knot on th ebottom side of it.

DECORATING
As soon as the boxes are filled up, the background and garland are prepared, you can start to set up and decorate the Ramadan village.


I’m curious to see how you like this year’s first Ramadan calendar. No matter what, I wish you a lot of fun crafting this idea.
Kind regards & Salam
Your Vanessa